Thanks to Cricut for sponsoring this post. As always, all opinions are my own.
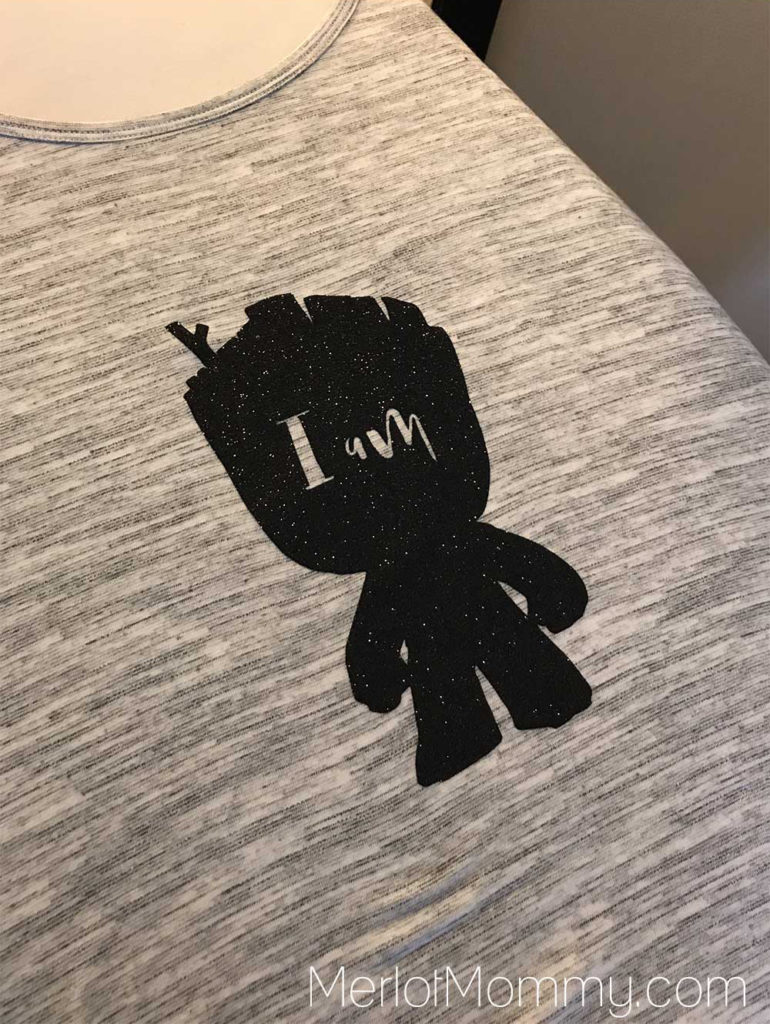
Guardians of the Galaxy Vol. 2 is just around the corner and we have a super easy, super cute DIY Baby Groot t-shirt for you to celebrate the newest movie in the Marvel Cinematic Universe! You need a Guardians of the Galaxy shirt! If you’ve never made your own shirt using iron-on vinyl, you might be wondering, “Will it be easy for me to learn the Cricut Design Space software to create my own custom projects?” I have the answer: It will!
I’ve made several t-shirts now using the Cricut Design Space software, and it was quite easy to learn. The steps are quite easy and the tools are fairly self-explanatory, even if you have no “design” software experience. There are oodles of tutorials online, too! I’ve made a few t-shirts for events like this Hamilton-inspired shirt and this Little Mermaid-inspired shirt.
For my recent trip to the Guardians of the Galaxy Vol. 2 press junket, I wanted to make a Baby Groot shirt.
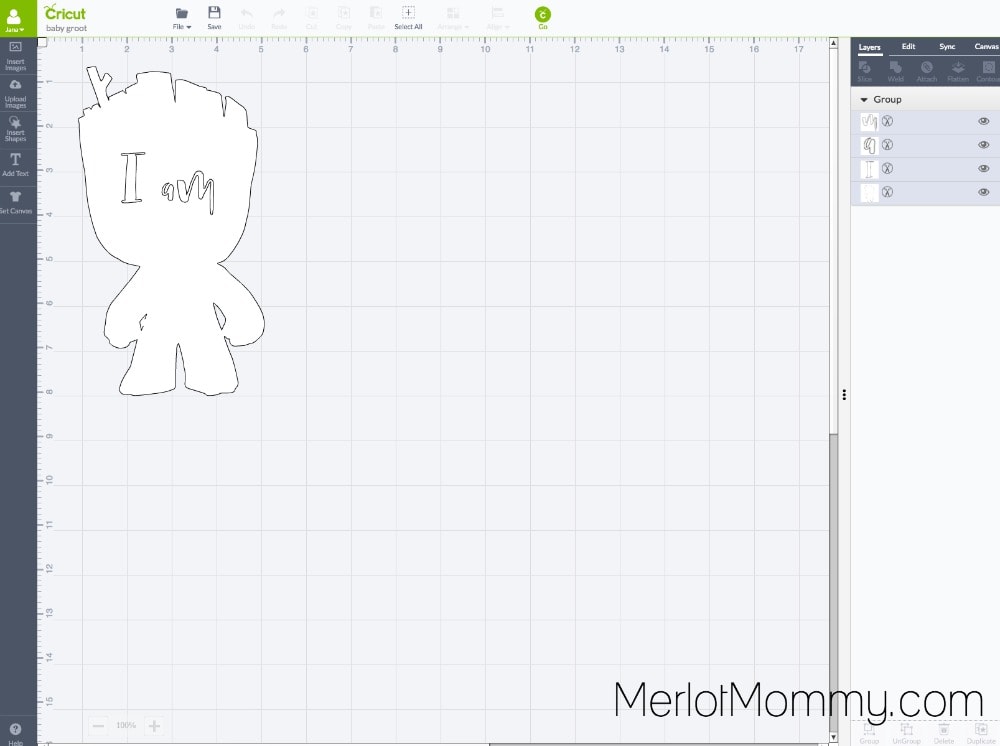
I started by creating a new project in the Cricut Design Space. I drew a vector file of Baby Groot and added reversed text for my image to create a “knock out” on the shirt. I uploaded that file as my own .svg file. And off I went. Here are the steps below.
DIY Baby Groot Shirt
- Create new file in Cricut Design Space.
- Upload custom Baby Groot .svg file, which you can download here for personal use only.
- Place Cricut Glitter Iron On onto Cricut Cutting Mat and load mat in Cricut Explore Air.
- Send file to print (make sure you select Mirror Image for iron on).
- Follow on-screen directions to finish.
- Once the image is cut to vinyl, remove the mat.
- Make sure you follow full application instructions. Make sure to pre-heat, heat, and post-heat your images for the recommended amount of time to help the iron-on material set into the fibers shirt you are adhering the iron-on to.
- Be sure you are applying iron-on material to a clean shirt.
- Remove negative Cricut Iron-on film, leaving only the desired cut image on the liner (this process is known as weeding). Using the weeder (found in the Cricut Tool Kit can make this process faster and less tedious).
- Set your iron to the Cotton/Linen setting (generally the highest temperature setting). Make sure the steam setting is OFF for steam irons.
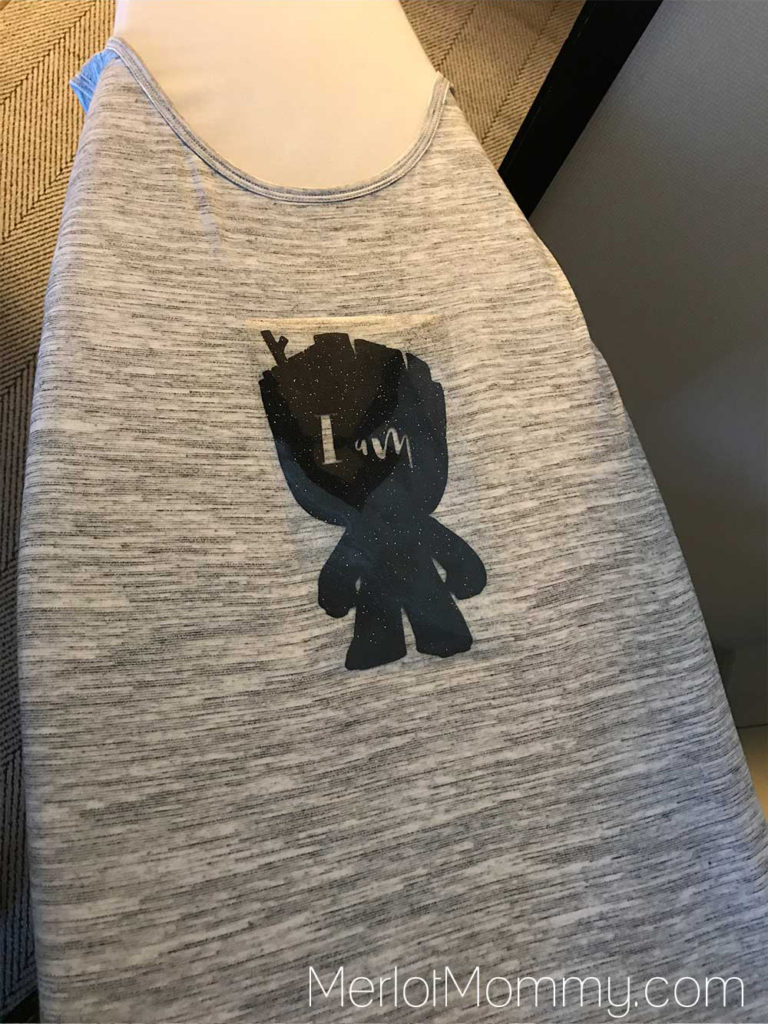
- Use the iron or Cricut EasyPress to preheat the area of the material in which you will be applying your cut image for 10–15 seconds. Always use a press cloth (or a clean cotton cloth, such as a dishtowel) over the top of your material when applying heat. This will protect your base material from the heat of the iron.
- Place the weeded image, liner side up, onto the preheated material. Apply medium pressure with the iron for 25–30 seconds.
- Flip the material over and apply medium pressure with the iron to the back of the material for an additional 25–30 seconds.
- Let cool 1–2 minutes. Remove lining.
TIPS:
Do not layer iron-on material over glitter iron-on. However, glitter iron-on may be layered on top of iron-on lite.
For best results, test a piece of Cricut Iron-on in an inconspicuous part of the item prior to application.
This is a sponsored conversation written by me on behalf of Cricut. The opinions and text are all mine.
- Different Reasons to Consider Using a Therapist in New York - March 12, 2025
- Is a Micro Wedding the Dream You Didn’t Know You Had? - February 14, 2025
- DIY Valentine’s Day Cards Inspired by Monster High - February 13, 2025


This is so cool!
Just to clarify – you drew the baby groot “freehand” in design space?
I drew it but I’ve added a link so you can download the file for use.
Do you have the svg file available for download or do we have to create our own?
Thanks!
I’ve added a link to the post so you can download the svg file for personal use.
Hi! This is incredible! I love it! When I go to download the file, it is only downloading as the webpage not the actual svg file. How could I fix that? Thank you so much!
if you click on the download link it should just open up a file. if you right click you should get an option to save as or open in a new tab.
I do get a “Save As” option, but the only two options to save it as are “Webpage Complete” and “HTML”. I am not quite sure how to either convert it to SVG download as svg. Sorry for the trouble, I really want the file though – it is precious!
Nevermind! I didn’t realize that was the same thing as the SVG file. How neat – learn something new about Cricut all the time! Thank you!
This is such a cute shirt. I think I might have to make one for my friend’s baby.
this is so cute,,and doesnt look hard to do at all
It sounds so easy, wish me luck! By the way, what font did you use for the “I am”?
It’s called Monofor. Good luck! Enjoy!