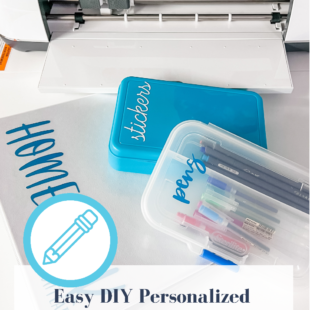
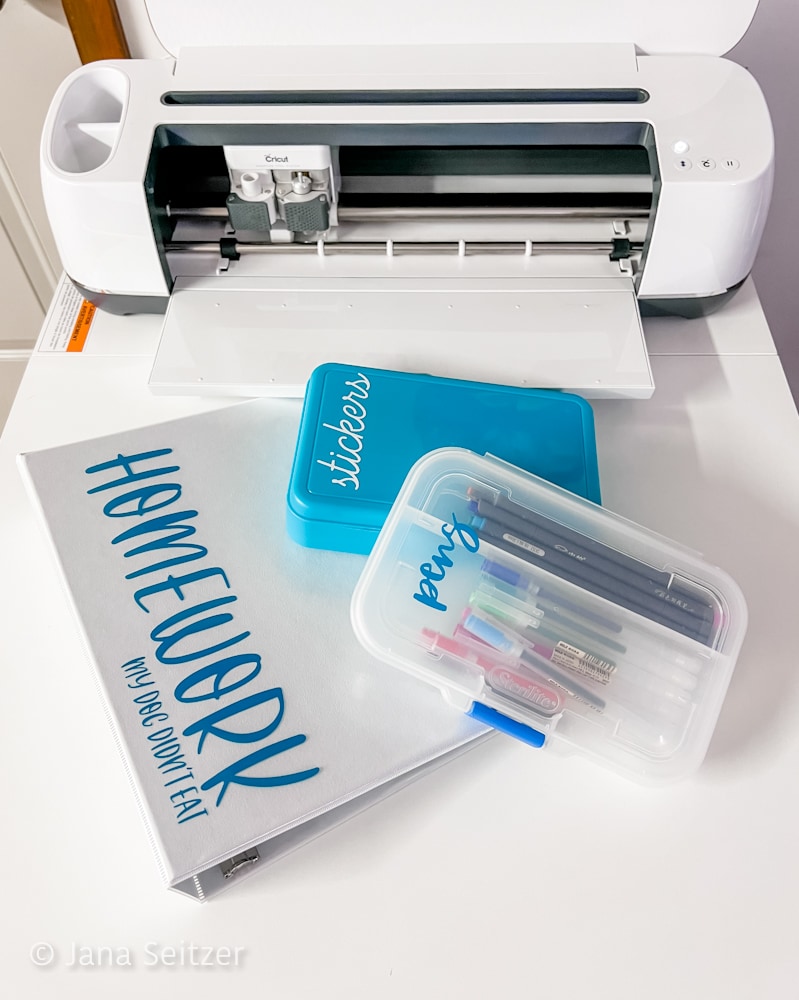
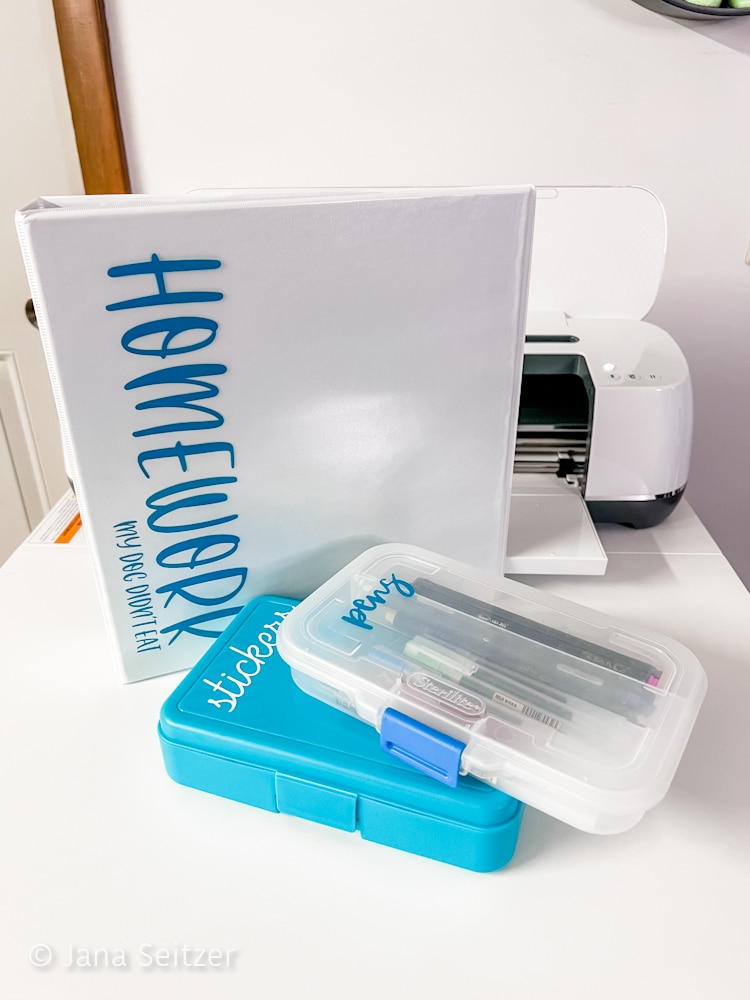
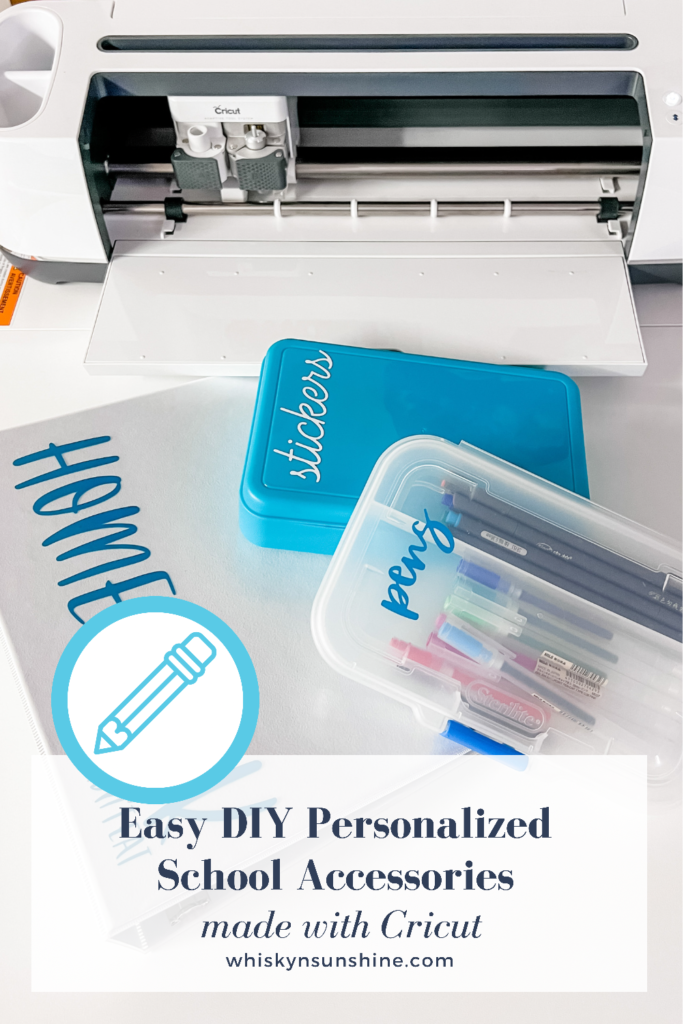
School classes and locker areas get chaotic, especially for younger kids. Even at home, we’ve always found it easier to have coordinating personalized school supplies for back-to-school. When they match, there’s no confusion as to which school binder or pencil case belongs to whom! We’ve created coordinating personalized school supplies like pencil boxes and school binders. These DIY Personalized School Supplies with Cricut are so easy to make!
Easy-to-make DIY Personalized School Supplies with Cricut
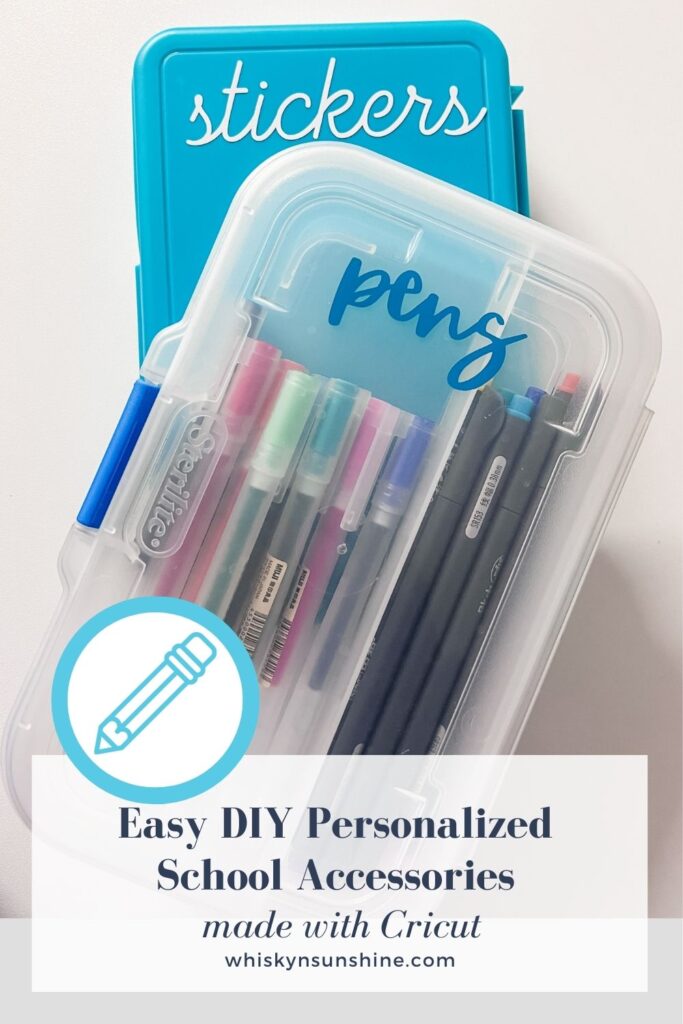
Made with the Cricut Maker, Cricut-available fonts & art, pencil boxes & 3-ring binders, and your choice of vinyl color, you can have a very easy customized DIY Personalized School Supplies for back-to-school made with Cricut in about 20 minutes.
This is a sponsored post written by me on behalf of Cricut. All opinions are 100% mine. This post contains affiliate links.

Customize Your Back-to-School Supplies with Cricut
We know back-to-school is always a challenging time of year, and this year may be a bit more so. Helping parents and students to be more organized lets them focus on the fun and good parts of going back to school rather than the tedious parts. It’s so quick and easy to customize and personalize school supplies with your Cricut, older kids can almost do it themselves, but all kids can certainly help. And they can all absolutely help to design their personalization!
Easy-to-make DIY Personalized School Supplies with Cricut
We’ve put together a list of the basic supplies you’ll need for your back-to-school accessory personalization below.
Supplies for your DIY Personalized School Supplies with Cricut
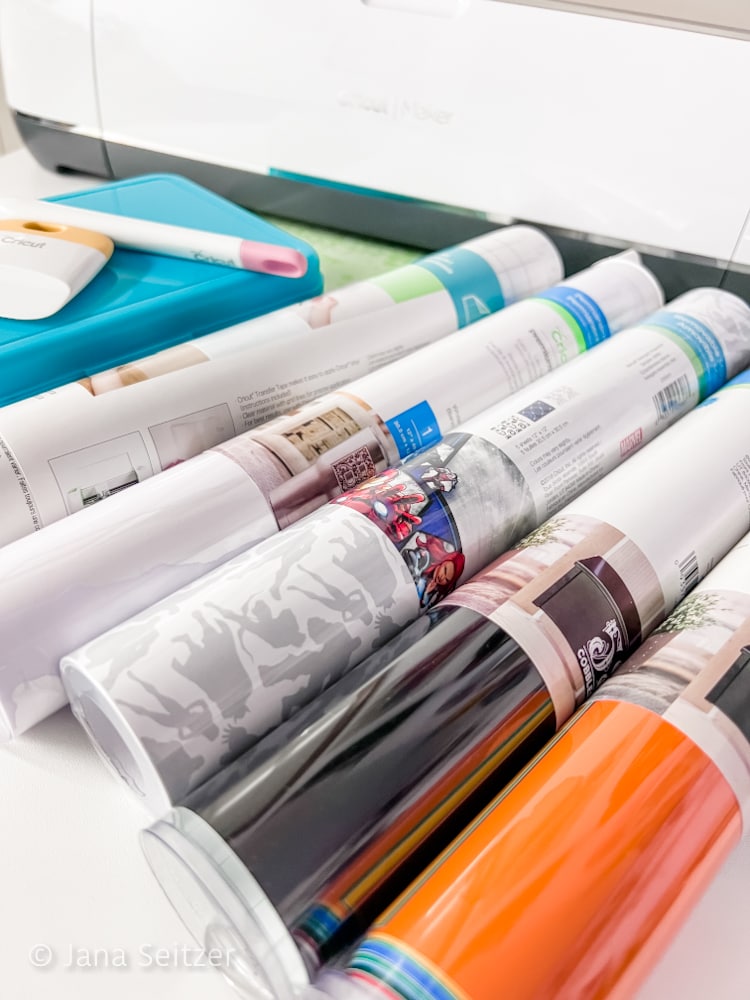
- Cricut Vinyl (permanent)
- Cricut Self-Healing Mat
- Cricut Maker 3
- Cricut Transfer Tape
- Basic Tool Set (Weeder, Scraper, Scissors)
- Plastic pencil box/pencil case, 3-ring school binder, whatever item you choose to customize

Directions for your DIY Personalized School Supplies with Cricut
- Ready your art file in Cricut Design Space. The custom files I created are available for download here: homework binder, pens, stickers.
- Apply your Cricut Vinyl (permanent) to the Cricut Self-Healing Mat; use the Scissors in the Basic Tool Set if you need to trim your piece of vinyl before adhering it to the Self-Healing Mat.

- Load the mat into the Cricut Maker 3.
- Follow the directions in the Cricut Design Space to cut the file.
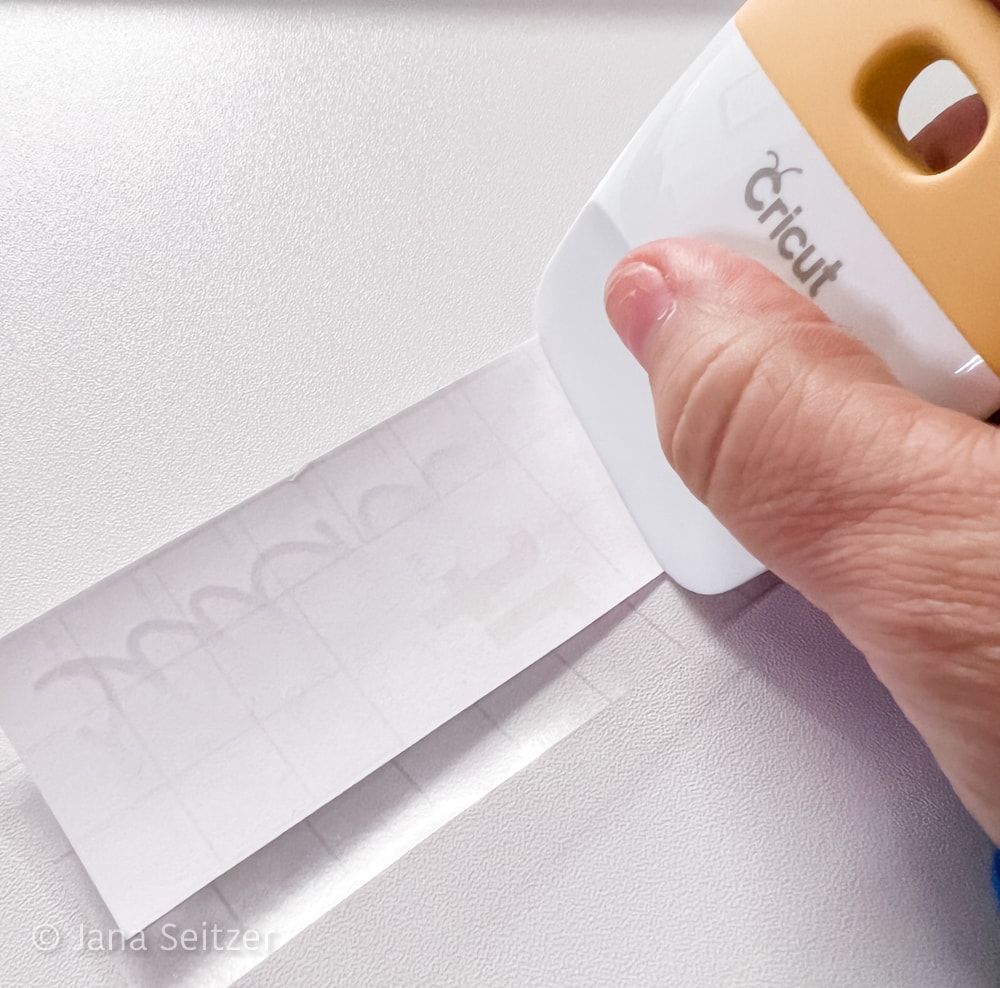
- Remove the negative Cricut Vinyl (permanent) pieces, leaving only the desired cut image on the liner (this process is known as weeding). Using the weeder (found in the Basic Tool Set can make this process faster and less tedious). Personally, I also love the Cricut BrightPad to make this process even easier.

- Apply Cricut Vinyl (permanent) following directions on the packaging with Cricut Transfer Tape.

- Gently place the Cricut Transfer Tape (adhesive side down) over your cut design, starting in the center and moving out toward the edges. Use the Scrapper found in the Basic Tool Set to burnish (rub or polish) the Cricut Transfer Tape onto the vinyl. Peel the vinyl away from the liner at a 45-degree angle.

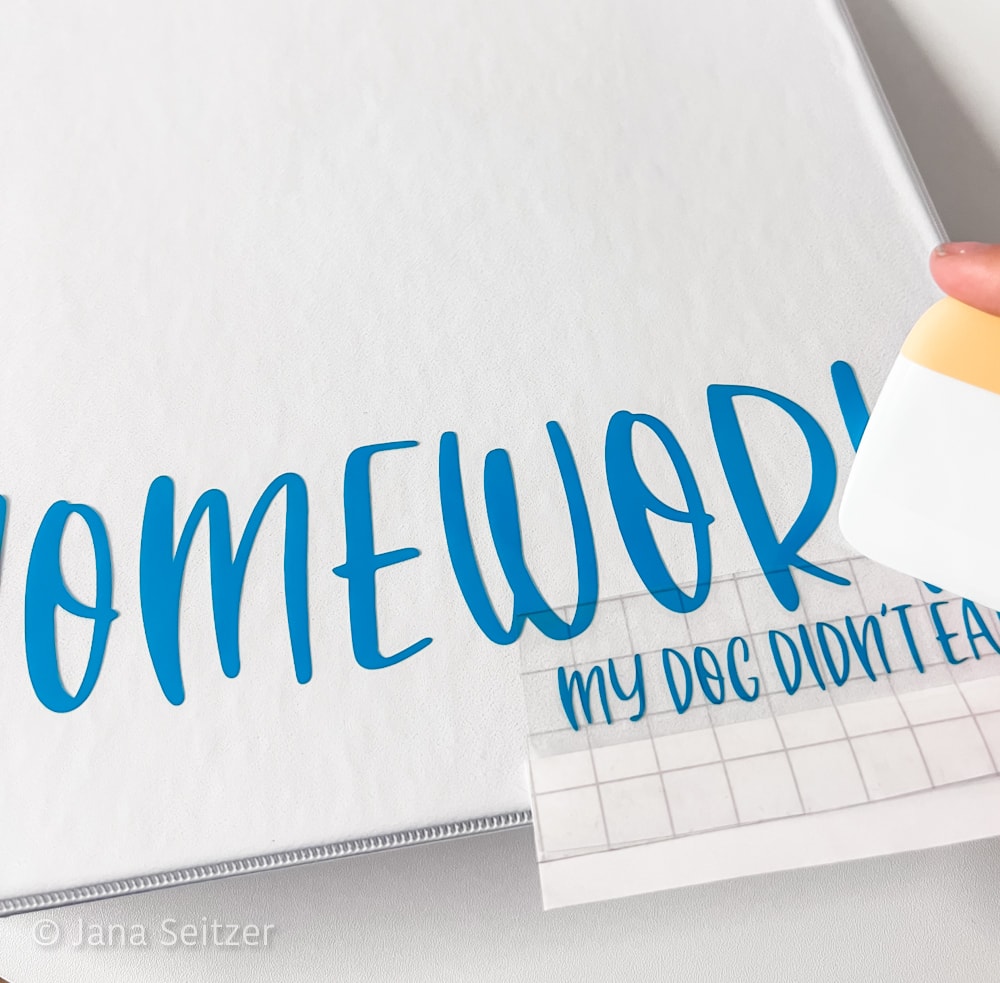
- To apply the vinyl decal to the product, carefully place the Cricut Transfer Tape with vinyl decal onto the product as you would like it to appear. Burnish the Cricut Transfer Tape onto the surface, starting in the center, moving out toward the edges. Use the Scraper tool to smooth.

- Peel the Cricut Transfer Tape away from the vinyl at a 45-degree angle. If the vinyl sticks to the Cricut Transfer Tape, simply burnish the Cricut Transfer Tape onto the vinyl with the Scraper and peel away again.

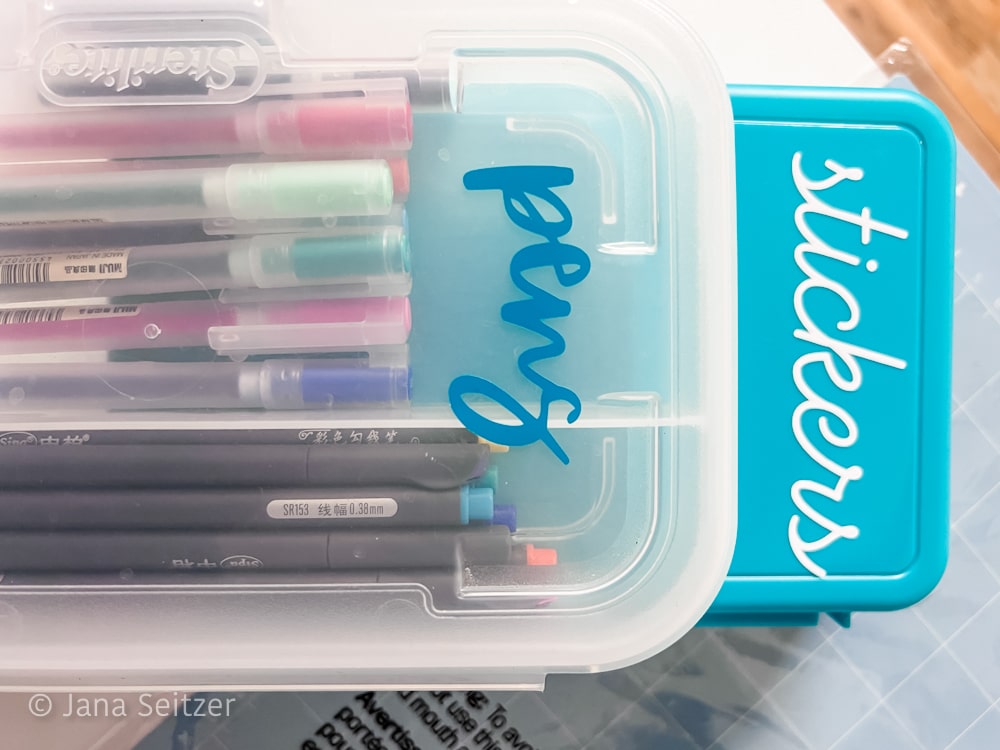
- Enjoy your masterpiece custom accessory!

- Repeat as necessary based on the number of accessories to want to personalize.


Check out some of our other Cricut projects! RV Sign | Ew David! Mug | S’mores Sign |Tangled Lantern
Do you have a favorite back-to-school accessory? Share in the comments below!

- Is a Micro Wedding the Dream You Didn’t Know You Had? - February 14, 2025
- DIY Valentine’s Day Cards Inspired by Monster High - February 13, 2025
- What Therapy Options Are Out There and What Ones You Haven’t Considered - February 13, 2025


[…] out some of our other Cricut projects! Personalized School Supplies | RV Sign | Ew David! Mug | S'mores Sign | Tangled […]