 This post contains affiliate links. As an Amazon Associate, I earn from qualifying purchases at Amazon.com.
We’ve all seen the funny Elf on the Shelf poses people post online. Have you ever wondered how to make your Elf on the Shelf posable so you can have you Elf participate in funny shenanigans at night while your kids are sleeping? There are lots of tutorials out there on how to make an Elf on the Shelf posable, but I guarantee this is the quickest and easiest method you’ll find on how to make an Elf posable. Including time to dig out the materials, it took me less than 10 minutes to make a posable Elf on the Shelf.
What you’ll need to make your Elf on the Shelf posable
- One Elf on the Shelf
- 4 small (standard) paperclips
- Double-stick Velcro tape
- Scissors
How to make your posable Elf on the Shelf
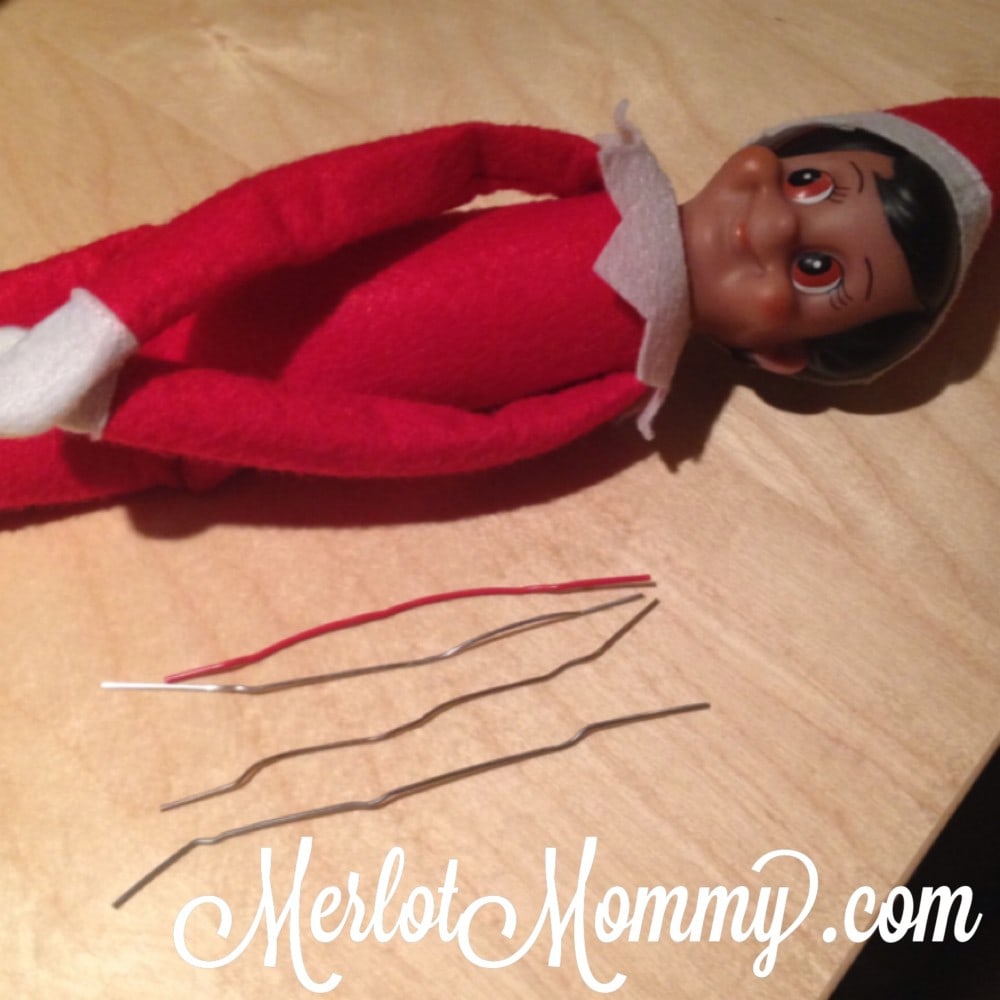
Gather the materials you’ll need. Straighten out the paperclips as best you can.
Use your scissors to carefully cut the string holding the Elf’s hands together. Don’t worry, we’ll make them connectable at the end of the process.
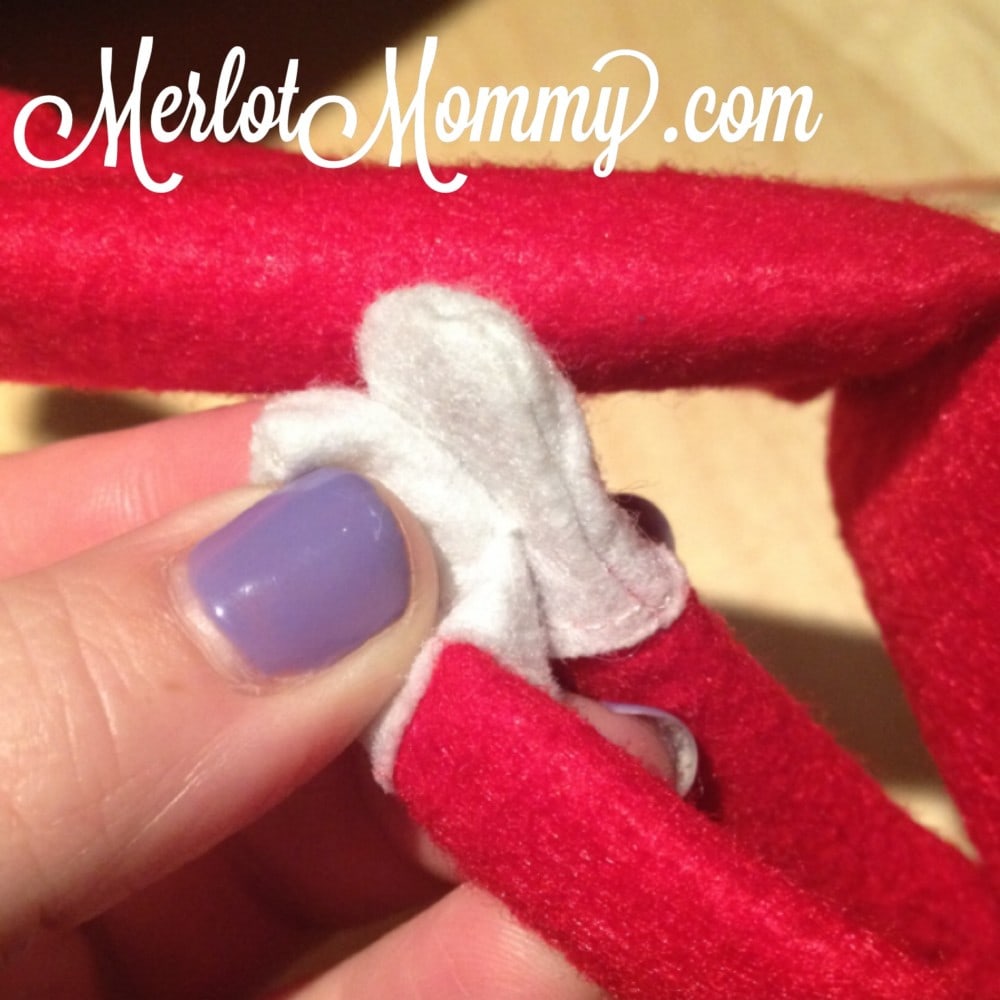
Next, take one of the paperclips and wiggle it between the stitches in the mitten on the Elf’s hand.
Push the paperclip all the way down into the Elf on the Shelf’s arm and use the mitten to push it in so that you can’t see the end.
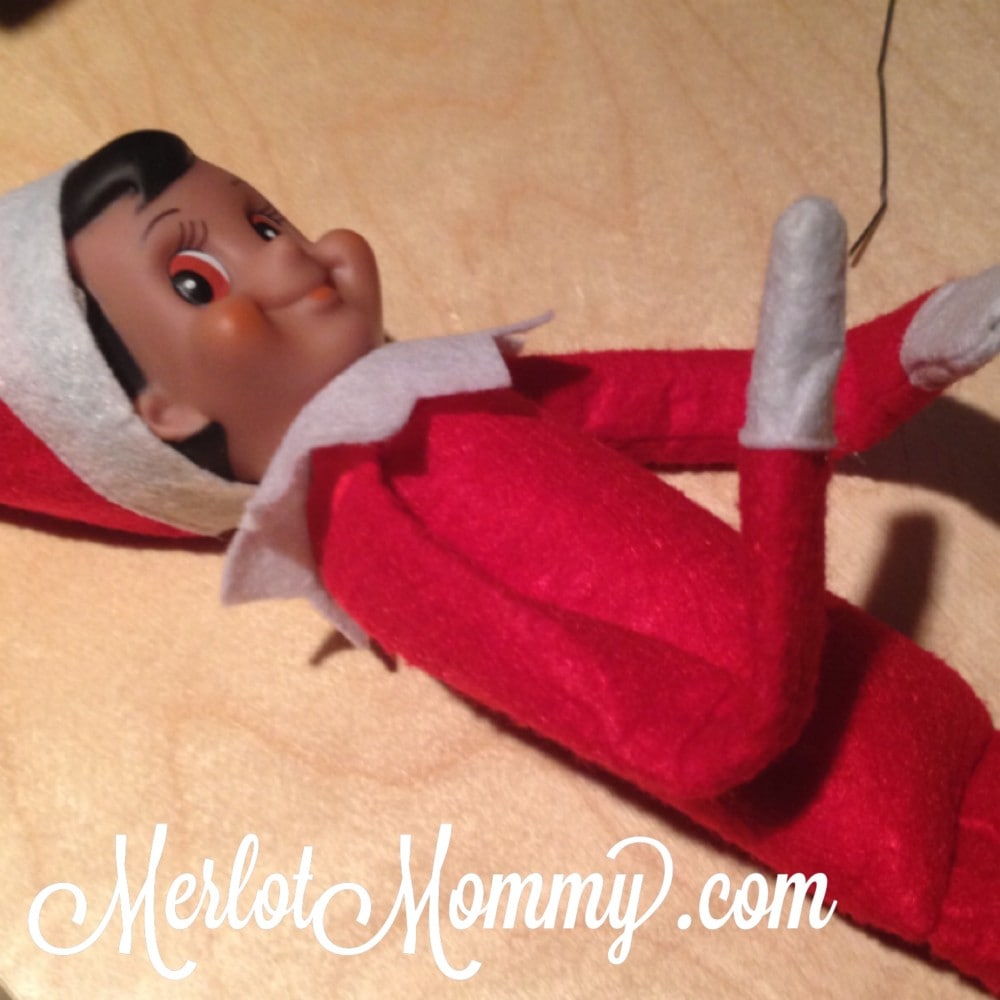
Now you can make your Elf’s arm bend to any position you wish!
Repeat the above process for the second arm. Wiggle the paperclip down through the stitches on the mitten and tuck in the end once the paperclip is in all the way.
Now both of your Elf’s arms are posable!
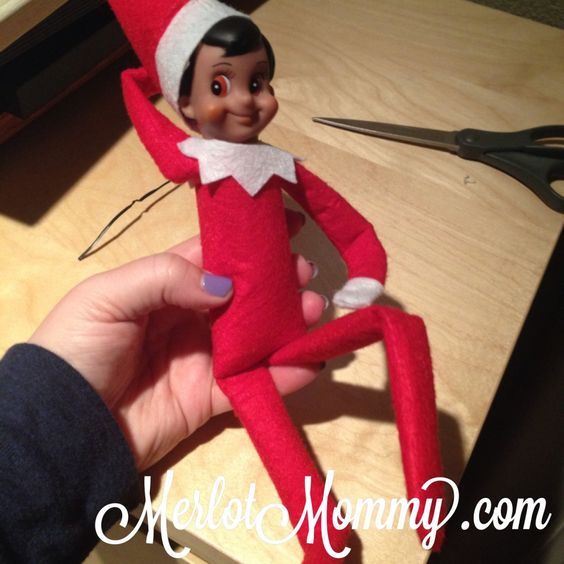
Repeat the same process for both of the Elf’s legs.
Check it out: now your Elf on the Shelf has posable legs, too! This is perfect for getting your Elf on the Shelf to stay on a shelf.
Next, get out your Velcro tape.
Cut two small pieces of tape (the mesh side and the stringy side) about 1/4 in wide.
Peel the sticky from one piece and place on the Elf’s mitten, squeezing firmly to adhere tape to mitten.
You’re all done! Now your Elf on the Shelf has posable arms and legs and hands that stick together!
Do you need to buy an Elf You can grab one here.
Here are some cute Elf on the Shelf ideas for Kids
We've all seen the funny Elf on the Shelf poses people post online. Have you ever wondered how to make your Elf on the Shelf posable so you can have you Elf participate in funny shenanigans at night while your kids are sleeping? There are lots of tutorials out there on how to make an Elf on the Shelf posable, but I guarantee this is the quickest and easiest method you'll find on how to make an Elf posable. Including time to dig out the materials, it took me less than 10 minutes to make a posable Elf on the Shelf.
How To Make Your Elf on the Shelf Posable
Materials
Tools
Instructions
- Red One Review - November 13, 2024
- Transformers One Review - October 20, 2024
- Smile 2 Review – A Sequel that Slays the First - October 16, 2024


Thats clever, I aam surprised they arent posable now! Believe it or not, I have OUR Elf from the 60s. I remember that silly thing and Mom posing it all over spying on us.
wow i never heard of elf on the shelf until my grand babies got one.. two yrs ago.
these are some really cute ideals
Fun adaptation to the Elf.
My elf has stitches at the elbows…any suggestions on how to get past them?
whoa. I’ve not seen this. all the way through? feel free to email me and I’m happy to take a look at those elbows!
My elf also has stitches at the elbows and knees, as well as shoulder and hips. It was a real pain to do. Just spent over an hour figuring it out. The last limb went in 5 minutes though. I used 16 gauge beading wire instead of paper clips. I think that will work better long term, as paper clips can tend to get fragile the more they bend, where as the beading wire can handle the bending better. The downside is that it’s less firm and harder to push in. It wants to bend a bit every time I try to force it through a seam.
What I finally found worked best is, before I begin inserting it, lay a piece of sandpaper on a flat surface (I used 220 grit). The beading wire is soft enough that you can fairly easily sand it down. Sand the tip at an angle and rotate the wire as you sand it and you will develop a cone-shaped point. Once the end is fairly pointy (just takes a minute) the wire is fairly easy to wiggle through the seams. Just be careful as you guide it, as it will just as easily pop out of the middle of a limb. Guide the wire until it’s through the elbow/knee, and then through the hip/shoulder, and finally until it reaches most of the way through the torso. By extending the wire up through the torso, you can not only bend the limbs, but position them relative to the torso (stick arms straight up, put legs in a sitting position, etc).
As for the velcro on the hands, I skipped it. My daughter is very logical/questioning, and even just noticing the string tying her hands together made her really suspicious (almost blew the whole story wide open last Christmas…just barely talked her back into believing). Suddenly noticing velcro would probably be a deal breaker. Besides, with the wire, there is almost no need for anything to connect the hands together.
It seems they have changed the design of the Elf body since I first did this back in 2014. I’m going to need to get a new one and update the instructions! Thanks for letting me know about this new stitching design!